This is a project I undertook in 2009 for a school presentation requirement. The students in the
eighth grade class at the Emerson Waldorf School of Chapel Hill each undertake a fairly
extensive project, which they present at the end of the year to their classmates, family and the
entire school community. The project I chose was retrofitting a bicycle with an electronic
controller and an electric motor, to in effect turn it into a moped.
As I have always been interested in "green technology" and ways to reduce pollution, I chose to
outfit my bicycle with a motor and batteries, allowing me to ride farther than I would be able
to using the pedals alone, and also allowing me to get places in a shorter amount of time.
The first thing that I had to do, was to make multiple decisions relating to the design of the
bike.
 I wanted to use a motor that could be mounted underneath or near to the pedals, so that the
chain would be in line with it. This would allow the use of the gears when using the electric
motor, giving the bike a wider range of power output. However a number of problems arose with
this design; the bike would have a very low ground clearance, a motor too large would be in the
way of the pedals, and I would need custom-made parts to complete the design. Research on other
people's use of these motors also told me it would be extremely noisy. I decided to go with a
somewhat easier design: a "hub motor," which is a motor mounted into the center of the wheel
itself. 'Used' hub motors are not common enough to find easily, but I could purchase a new one
online. The next question to answer was, what type of batteries I should get, and where they
would be mounted on the bike frame.
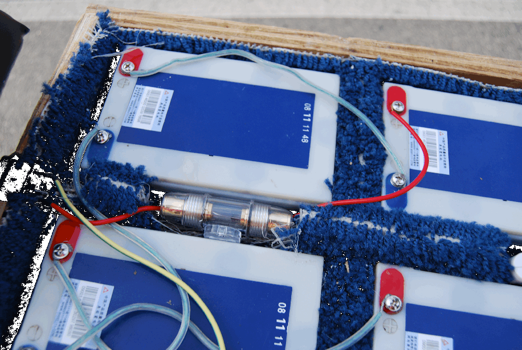
 After a week or two I found and purchased online a 48 volt, 1000 watt hub motor, 4 X 12 volt 14
amp/hour batteries, and a 48 volt controller. Then I sat down to wait as the rest of my goods
were shipped from China. To my surprise they arrived within a week.
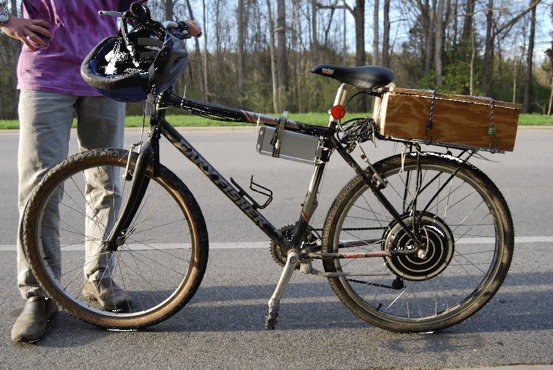
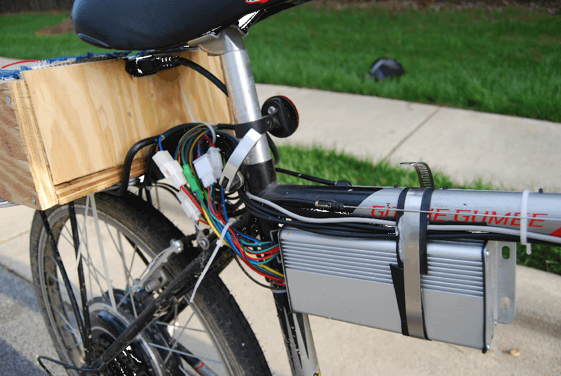
 Constructing it proved to be harder than I thought it would be. The hub motor was simple enough
to bolt on to the back of the bike frame, and the controller fit fairly well into the crook of
the frame under the seat, but the batteries were another story. I ended up building a wooden box
lined with carpet to pad the batteries, and cable-tying that to a grill platform which I
attached over the back tire. Another problem arose when I tried to "install" the twist-grip
throttle. The back gear shifter also was a twist-grip type, and the two would not fit together
on the length of the handle bar. My solution was to find another type of gear shifter, a 'thumb'
shifter, at the "Recyclery", a local, free, community bike repair shop near my house.
When I was at the stage I'll call "done" I had to try it out. I was amazed at how powerful it
was. For the better part of the next two days I rode up and down my driveway and around the
neighborhood at about 20 miles/hour.
 Here is a “point of view” video of the finished bike, riding around in my neighborhood.
About a year after I finished building this bike, the support under the batteries broke and I
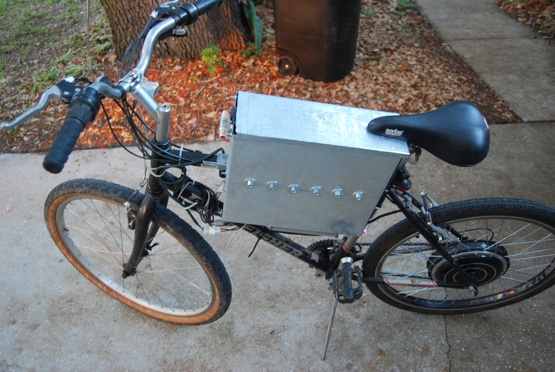
had to replace it. This time I chose to put the batteries in a metal box in between the wheels.
Building the box was fairly straightforward; I bought a large sheet of aluminum, drilled holes
and then folded it into shape. I put six thick rods through the middle of the box, hanging on
the main beam of the bike in order to support the weight of two of the batteries. The other two
rested on top.

This was actually a real improvement from the original placement, which had caused a significant
‘fish-tail’ effect in the back.