These are projects that I’ve undertaken more recently. I’ve never before had the tools (i.e. power tools)
required to easily make an end grain cutting board. However a powered planer, and band saw or table saw
reduce the time and work considerably. These end-grain cutting boards are made by gluing strips of wood
together and then cutting across the strips and re-gluing the pieces after turning them 90 degrees so that
the end grain runs vertically. This also allows for some wonderful patterns to be made by alternating every
other section of wood before the final gluing.
Before I made the cutting board shown below I wrote a simple PHP web page to show what the end result would
be and how much wood it requires.
Have fun playing around with that here.
Or use it to design your own
cutting board.
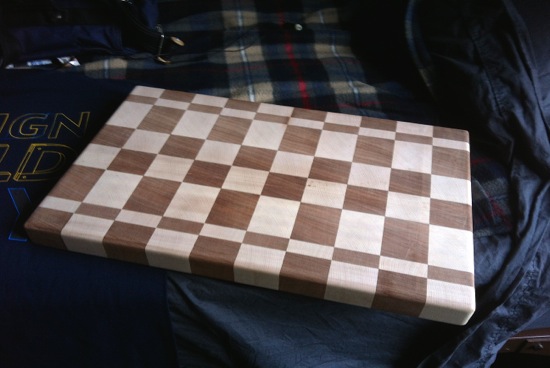
The most recent cutting board can be seen below. Because these boards are rather thick and heavy in nature,
I used a router with a round bit to make a handle type groove in each side. This makes picking it up or
sliding it on a counter much easier.
 I started this cutting board by sawing my two types of wood into pairs of strips that make up the total
width of the final board. There are two of each width strip.
I started this cutting board by sawing my two types of wood into pairs of strips that make up the total
width of the final board. There are two of each width strip.
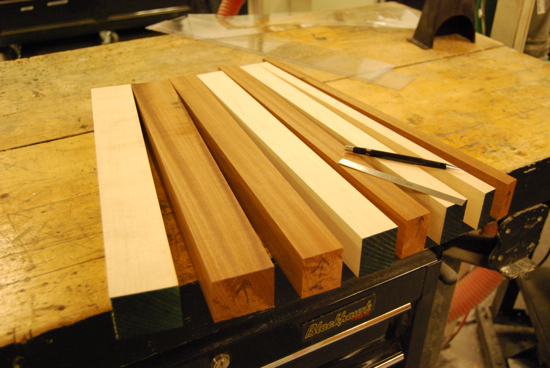
 I planed each set of strips down to the correct width at the same time. This is so that the corners in
final pattern will align perfectly. I didn’t worry about the thickness yet. After gluing the strips together
I then re-planed them so that the top and bottom surface was completely flat and smooth. You can see below
where I’ve marked the next set of cuts.
I planed each set of strips down to the correct width at the same time. This is so that the corners in
final pattern will align perfectly. I didn’t worry about the thickness yet. After gluing the strips together
I then re-planed them so that the top and bottom surface was completely flat and smooth. You can see below
where I’ve marked the next set of cuts.
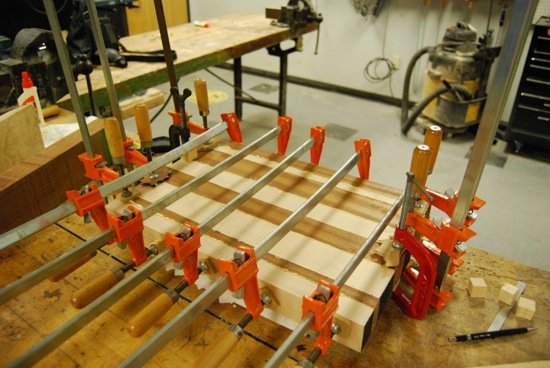
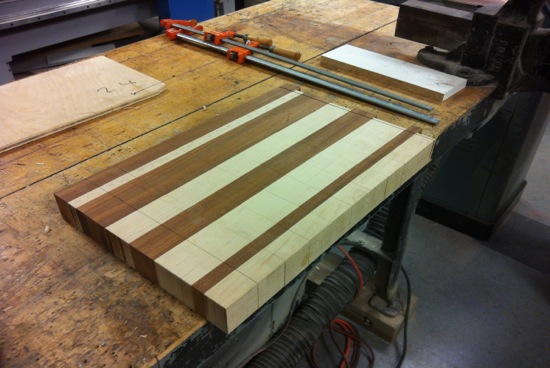 You can see that the board is symmetric about the center, that is, each strip of a certain thickness is
mirror to its corresponding strip of the other color.
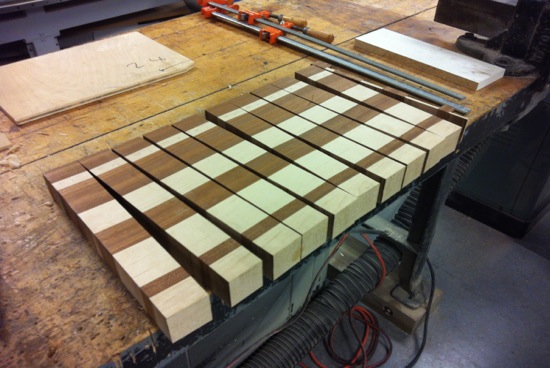
Here I’ve cut the wood across the strips. Each chunk can then be turned 90 degrees to expose the end
grain.
You can see that the board is symmetric about the center, that is, each strip of a certain thickness is
mirror to its corresponding strip of the other color.
Here I’ve cut the wood across the strips. Each chunk can then be turned 90 degrees to expose the end
grain.
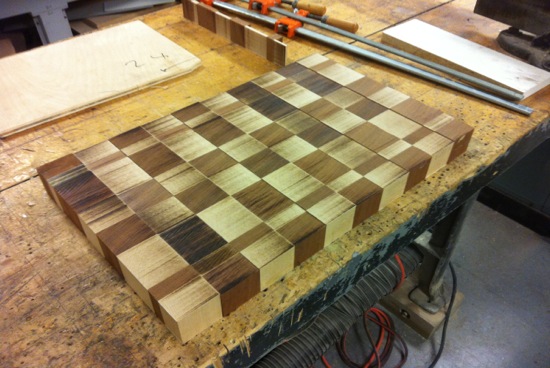 By flipping every other piece I arrive at the final pattern. Because the strips were symmetric, the
rectangles line up perfectly. It looks terrible now because of the finish the saw leaves.
By flipping every other piece I arrive at the final pattern. Because the strips were symmetric, the
rectangles line up perfectly. It looks terrible now because of the finish the saw leaves.
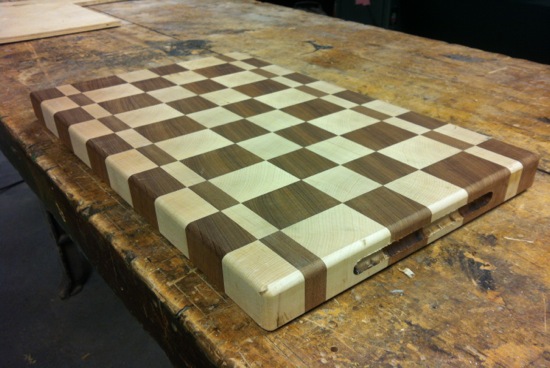 After the second glue job had dried, I carefully put the entire thing back through the planer to smooth the
top and bottom. I also used the router to round the edges and make the handles on each end. The final steps are
to sand the entire board by hand to remove tool marks, and then apply a thick coat of food safe oil.
After the second glue job had dried, I carefully put the entire thing back through the planer to smooth the
top and bottom. I also used the router to round the edges and make the handles on each end. The final steps are
to sand the entire board by hand to remove tool marks, and then apply a thick coat of food safe oil.
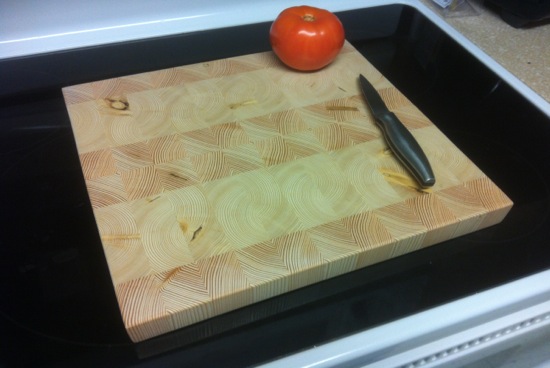
The cutting board below was actually the first board I made. It’s made from scrap 2 x 4 lumber that I found
in the waste bin. I made it as a practice piece before making the nice board from hardwood (above), however
it turned out very nicely. I definitely don’t recommend using pine for a cutting board, though. If it is pine,
at the very least it should be no less than 1.75 inches thick. The reason is because pine, being a softer wood,
is very prone to warping when it gets wet. I had to wet this board and sand it such that when dry it was warped,
but when I oiled it, it unwarped itself back to almost perfectly flat. This probably could be avoided completely
by making the board much thicker.
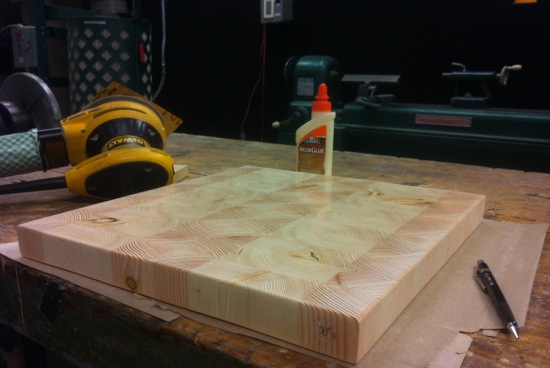 Something about the wood allowed me to sand it to almost a mirror finish (possibly the high sap content?). Most
wood’s end-grain stays matte, even when sanded to a very high grit.
Unfortunately, as soon as it gets wet, the microscopic wood fibers swell and the reflective surface is lost.
Having said that. I have been using this pine cuttingboard every day for years, and it's by far the best cuttingboard
I've ever owned. The nice hardwood cuttingboard was gifted away.
Something about the wood allowed me to sand it to almost a mirror finish (possibly the high sap content?). Most
wood’s end-grain stays matte, even when sanded to a very high grit.
Unfortunately, as soon as it gets wet, the microscopic wood fibers swell and the reflective surface is lost.
Having said that. I have been using this pine cuttingboard every day for years, and it's by far the best cuttingboard
I've ever owned. The nice hardwood cuttingboard was gifted away.